We would all like to get into the SAP Fiori Configuration guide with step by step process right away but let us pause for a second and recap on SAP Fiori applications. We all know that SAP Fiori has taken the SAP world by storm with it’s enhanced UX.
As a result, businesses are now able to work on data from anywhere and transform it into seamless interactive experiences. Moreover, they are able to deliver critical data in an easy format across all platforms and devices. We can have a detailed understanding of Fiori from the blog “What is SAP Fiori“. In this blog, our aim is to explain the configuration of SAP Fiori step by step and make you more comfortable on how to configure SAP Fiori for your business.
Before we get into the step by step process of SAP Fiori configuration, we should have a basic understanding of Likewise, the above three steps are repeated on the ABAP Backend server with the target host as the ABAP Frontend Server. Once the RFC Destination is set, the “Creating Trusting Relationships Wizard” is run.
This is done by running transaction SMT1. Furthermore, we follow the steps in “Creating Trusting Relationships wizard” after clicking on the create icon.
- SAP GUI system
- SAP ABAP frontend and backend server functions
- Access to SAP Maintenance planner and SAP Marketplace
SAP Fiori Installation and configuration guide
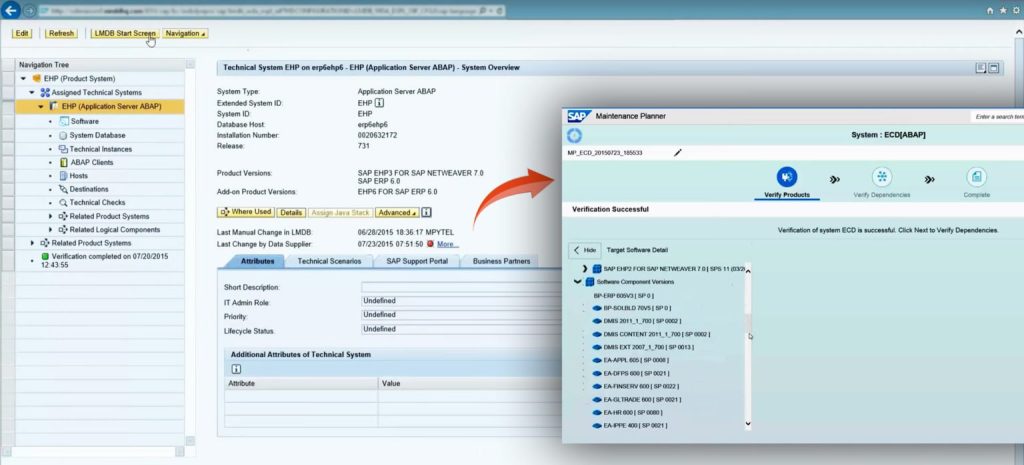
Firstly, we will have to install the front end and back end components in the ABAP environment. SAP suggests using the Maintenance planner tool to install these components. Let us now have a look at how to install the components.

The front end components are:
- SAP NetWeaver Components
- SAP Gateway Component
- Central UI Component
In the SAP Fiori configuration process, it is best to check for the latest upgrades of components and install them. The Gateway and Central UI Components are included along with the SAP NetWeaver installation.
To verify the front end components installation, we can login to SAP GUI, go to system status and check out Installed product versions and Installed software component versions. The next step in SAP Fiori configuration is the installation of backend components.
When we talk of backend components, they’re the SAP business suite products and SAP NetWeaver Components SAP business suite products. Here, we need to note that SAP Fiori products are installed on the backend server as add-ons to specific SAP business suite products SAP NetWeaver Components.
Again, we can verify if the components are installed by logging in to SAP GUI and checking the system status.
Let us take a step by step approach to this process for a particular SAP Fiori app
- Firstly, we login to the SAP Maintenance planner using login credentials
- Next, we go to the Fiori App library. Then, Select the Fiori app that we are trying to configure and go to the “Implementation Information” tab. We then click on the “Maintenance Planner” hyperlink that gets displayed.
- On clicking the link, we are redirected to a screen to view the frontend and backend components. These are the ones that are definitely required to install the selected Fiori app. This is displayed in the “Overview” section.
- Next, we click on “Select Systems” to select the systems to install the frontend and backend product versions.
- After selecting the systems, we click on the next button to look at the “Impacted Systems” List.
- We then, follow the rest of the steps by clicking on the next button. Furthermore, we select “Installation Media” and “Stack dependent and Independent files”.
- Finally, we can select the “Push to Download Basket” option
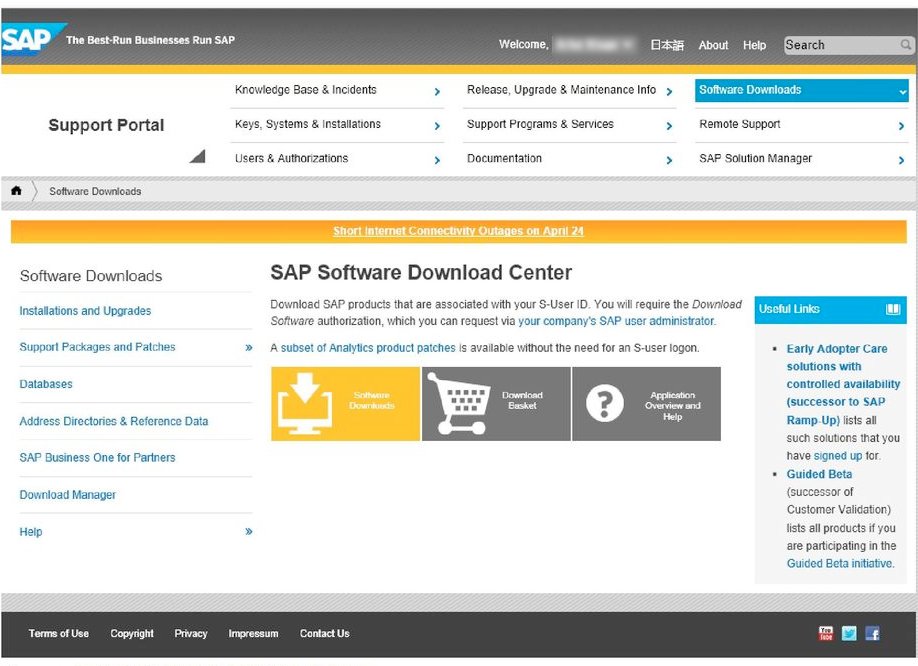
Now, let us see how to download and upload the Components to server using SAP Marketplace in the step by step guide to SAP Fiori Configuration

Firstly, we go to SAP Software Downloads and download the component onto the local system. Then, we deploy the component to the server manually. We can use “SPAM”(Support Product Manager) to update existing components and “SAINT”(Add-on Installation Tool) to install new components.
Let us quickly look at how we can update support packages using SPAM
- We go to t-code SPAM
- Go to the fiori app library and click on the “Implementation Information” tab for the selected Fiori App
- Check the given backend component version’
If there is a mismatch between the given backend component version and the one in the “Installed Product Versions” under “Installed Software”, we need to upgrade the support package level. Once we have the correct version, we download the components from the SAP software downloads. We do this by clicking on download basket. Finally, we upload to server, after downloading from the basket.
Next, in the SAP Fiori installation and configuration guide, we will look at the steps to upload support pages.
- Login to SAP GUI
- Next, we go to transaction SPAM
- We then click on Support Packages – Load Packages from front end
- We select the downloaded file from the local system
- Click on the “Allow” Button
- Next, we click on the “Decompress” button to decompress the package
- In this step, we select the “New support Packages” option and click on display
- This takes us to the OCS Package Directory where we can select the OCS Package and click on queue.
- Clicking on the ok button, confirms the queue and opens up a pop-up message “Add modification adjustments transports to the queue”. Here, we select the “yes” option. We, then, see the transport added to the queue.
- Now, Clicking the confirm button, starts importing the support packages.
- Finally, when we confirm the queue by selecting support package, we should be able to see upgraded support package System Status Check “Installed Software Component Version” tab.
At this stage, we have successfully installed all the required components. Next, as part of this “SAP Fiori Installation and Configuration Guide” we do an SAP Fiori Configuration step by step We will need to activate some of the OData services to configure the SAP Fiori Launchpad.
Let us follow the below mentioned steps for the same.
- We first go to /IWFDN/MAINT_SERVICE in the SAP GUI
- Next, we click on “Add Service” button and select “Local” (This is for the system alias)
- We then enter the external service name
- Click on “get services” to select all the services
- Clicking on “Add selected services”, will activate all the selected services
At this point, all the activated services are displayed on the customer namespace. In this detailed blog on SAP Fiori Configuration guide, we shall now look at the steps to activate Internet Communication Framework Services.
We first run the transaction SICF. Then, We enter “/sap/bc/ui5_ui5/sap in the service path field and click on the “execute” button. Now, to activate the ICF nodes, we will right click on some services and click on “Activate Service”. These are the following services that need to be activated:
- /default_host/sap/bc/ui5_ui5/sap/ar_srvc_launch
- /default_host/sap/bc/ui5_ui5/sap/ar_srvc_news
- /default_host/sap/bc/ui5_ui5/sap/arsrvc_upb_admn
- /default_host/sap/bc/ui5_ui5/ui2/ushell
- /default_host/sap/bc/ui2/nwbc
- /default_host/sap/bc/ui2/start_up
- /default_host/sap/public/bc/icf/logoff`
- /default_host/sap/public/bc/ui2 /default_host/sap/public/bc/ui5_ui5
We then click “Yes” with the entire hierarchy to activate all the child nodes After the activation process we move on to assigning necessary roles to the user. Here, we assign predefined roles to end users and administrators.
Assignment of Predefined Roles to Users
Let us look at it step by step We run transaction PFCG.
Then, we enter the role name for administrator. It is the predefined one (SAP_UI2_ADMIN_700). After that, we click on “Single Role” button. Subsequently, we key in “ SAP_UI2_ADMIN_700” in the “role” field before selecting “copy all”. When we are redirected to the “change roles” screen, we will select “Authorization Default” under the menu tab. This opens up a pop up screen, where we enter all these values:
Authorization default : TADIR Service
Program ID : “ R3TR”
Obj Type: IWSG Gateway: Service Groups Metadata”
Now, let us add all the services that we activated and click the “Copy” button. Also, we go to “Authorization” tab and click on the icon to propose a profile name. Then, select “Yes” on “Change Authorization Data” to save the role. Finally, after saving the role, we click on the generate icon.
Similarly, we assign roles to end users.
Next, in the SAP Fiori Configuration process is the configuration of the SAP Fiori Launchpad
Let us look at all the steps for the same.

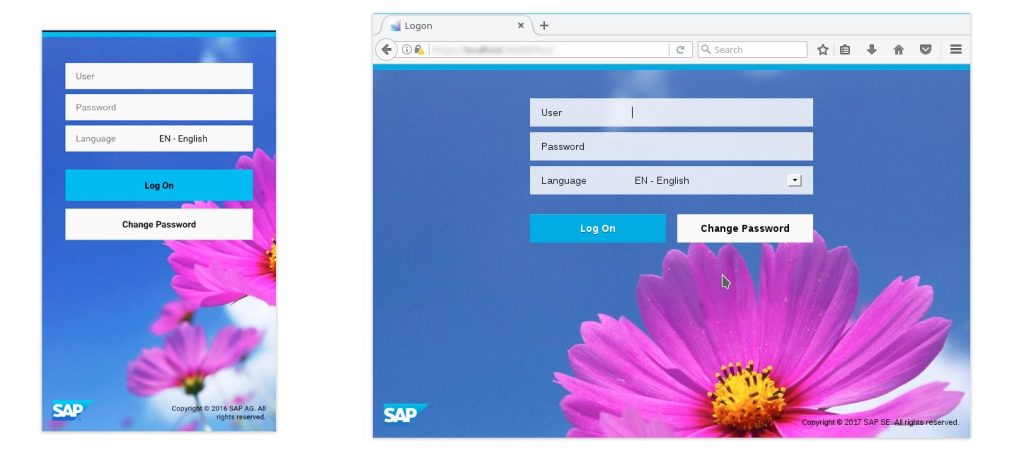
Configuration of the SAP Fiori Launchpad Login screen
We begin by running transaction SICF. In the Service path, we type “/sap/bc/ui5_ui5/ui2/ushell and click on “execute” icon. Next, we double click the “ushell” service and go to “error pages” tab. There we Choose “system logon” and click on “configuration”. Then, we choose “custom implementation” and type “/UI2/CL_SRA_LOGIN” in the ABAP class field. After that, we confirm and save to create or change a service screen.
We repeat the same set of steps for “/sap/bc/ui5_ui5/sap/arsrvc_upb_admn” to configure the launchpad designer tool. Once, that is done, we can then login to the launchpad and launchpad designer tool to check if they’re both working.
The last step in SAP Fiori configuration guide is to activate the SAP gateway in order to provide a connection between SAP Front end and Back end.
Firstly, we would run transaction SPRO. Then, we would click on “SAP Reference img” icon and either activate or deactivate SAP NetWeaver Gateway. Finally, we would activate the gateway service by clicking on “execute” icon. After activating the gateway, it has to be integrated with SAP Business Suite.
This integration is to set up the trusted remote function call (RFC).
The steps for the integration are as follows:
Run transaction SM59. Next, Click on the create icon and key in the following details:
- RFC Destination
- Connection Type : “3”
- Description : 1
- Load Balancing : “NO”
- Target Host : “business suite name”
Instance Number : “00”
Also, click on login and security and key in the following details
- Language : “EN”
- Client : “120”
- User
- Trust Relationship : yes
Likewise, the above three steps are repeated on the ABAP Backend server with the target host as the ABAP Frontend Server. Once the RFC Destination is set, the “Creating Trusting Relationships Wizard” is run. This is done by running transaction SMT1. Furthermore, we follow the steps in “Creating Trusting Relationships wizard” after clicking on the create icon.

